Water Bath Canning 101

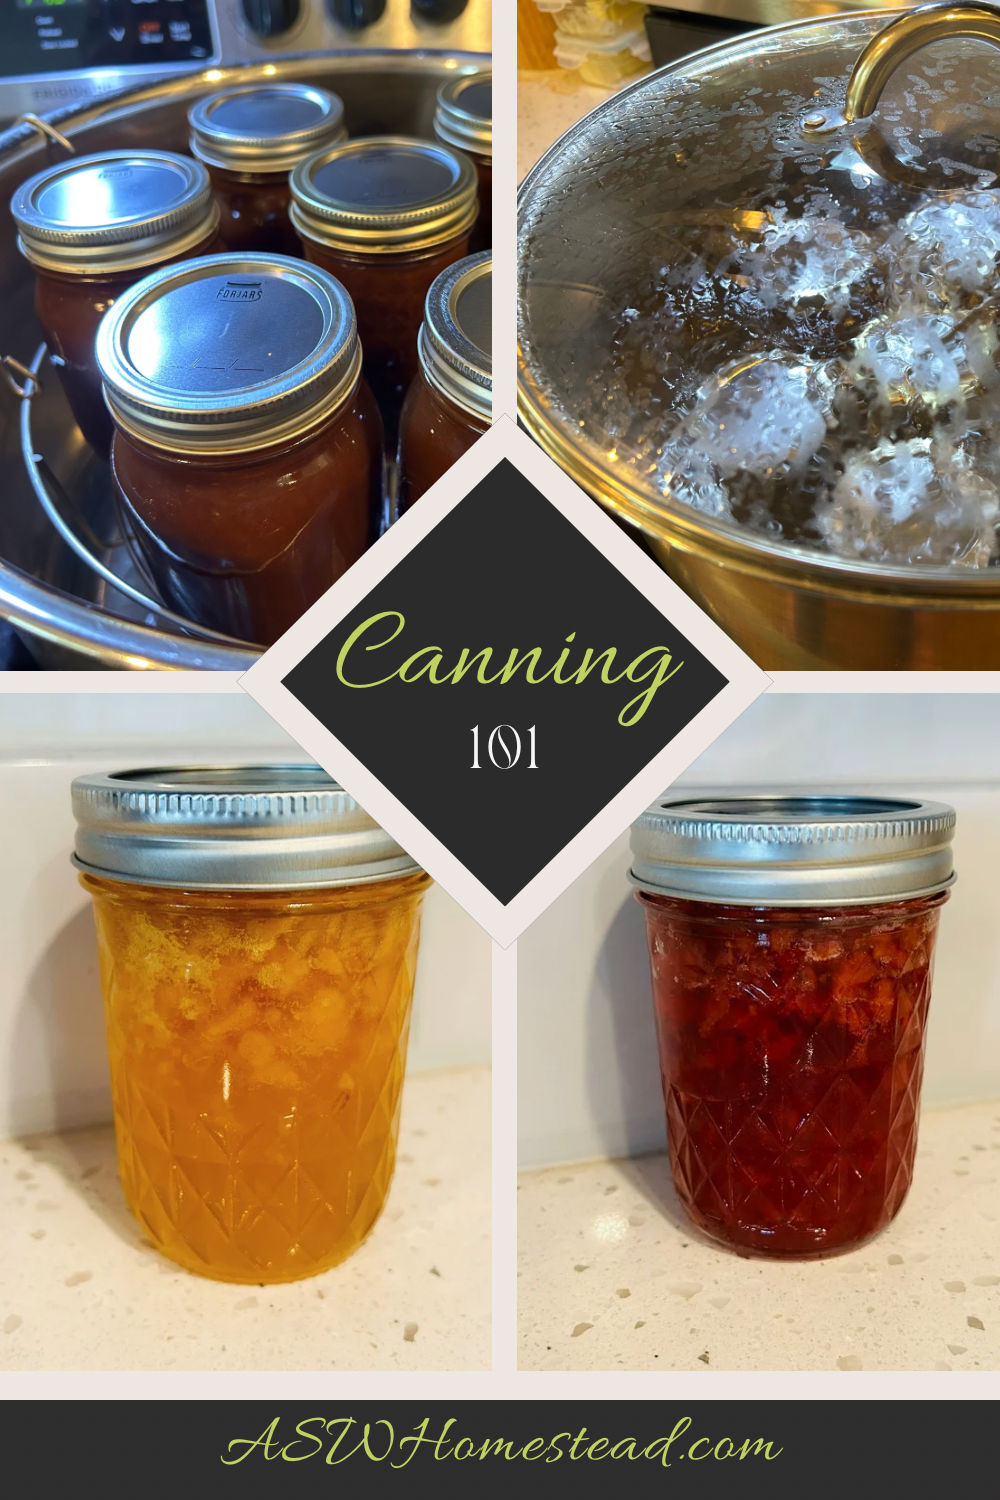
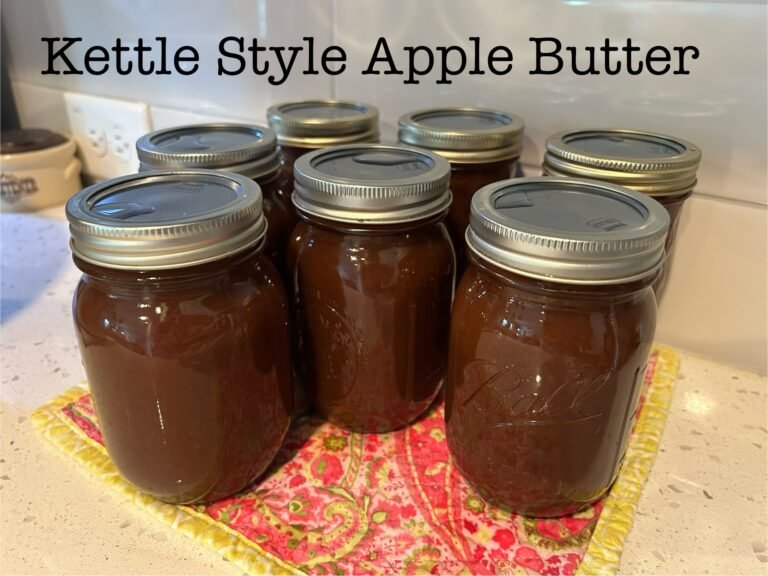
Hello Friends! If you’re anything like me, you know there’s nothing quite like the satisfaction of growing your own fruits and vegetables. But what happens when your garden produces more than you can eat? That’s where water bath canning comes in!

Water bath canning is a wonderful way to preserve your harvest and enjoy the fruits of your labor all year long. Whether you’re new to canning or just need a little refresher, I’m here to guide you through the basics of water bath canning so you can start filling your pantry with homemade goodness. If you want more detailed instructions check out this Ball Canning book.

Why Should You Start Canning?

Before we dive into the how-to, let’s chat about why canning is such a fantastic skill to have in your homesteading toolkit:

Getting Started with Canning

Canning might seem a little intimidating at first but trust me—it’s easier than it looks! The key is to start small and gradually build your confidence. Let’s break it down step by step.

1. Water Bath Canning Basics

There are two main methods of canning: water bath canning and pressure canning. Which method you use depends on the type of food you’re preserving.

  • Water Bath Canning: This method is great for high-acid foods like fruits (applesauce and apple butter), jams, jellies, pickles, and tomatoes (with added acid). It’s a simple process that involves submerging jars in boiling water to kill any bacteria and create a vacuum seal.
  • Pressure Canning: Low-acid foods like vegetables, meats, and chicken broth require pressure canning to reach the higher temperatures needed to safely preserve them. This method uses a pressure canner, which is different from a regular pressure cooker, to ensure food safety.
  •  

For beginners, I recommend starting with water bath canning.

2. Gather Your Supplies

Here’s what you’ll need to get started with water bath canning:

  • Canning Jars: Mason jars are the most common choice. Make sure to use jars specifically designed for canning, as they’re made to withstand the heat and pressure of the canning process.
  • Lids and Bands: You’ll need new canning lids each time you can, but the bands (the metal rings) can be reused. Lids should be checked to ensure they’re free from any dents or damage.
  • Large Pot or Water Bath Canner: A large stockpot will work for water bath canning, as long as it’s deep enough to cover the jars with at least an inch of water. You can also use a dedicated water bath canner.
  • Rack: You will need a rack to sit in the canner to keep the jars off the bottom of the pot allowing the water to circulate under the jars.
  • Jar Lifter: This tool makes it easy to safely lift hot jars in and out of boiling water. Trust me, it’s a must-have!
  • Funnel: A wide-mouth funnel helps you fill jars without making a mess.
  • Bubble Remover/Headspace Tool: This is used to remove air bubbles from the jars and to measure the headspace (the space between the food and the top of the jar).
3. Prepare Your Produce

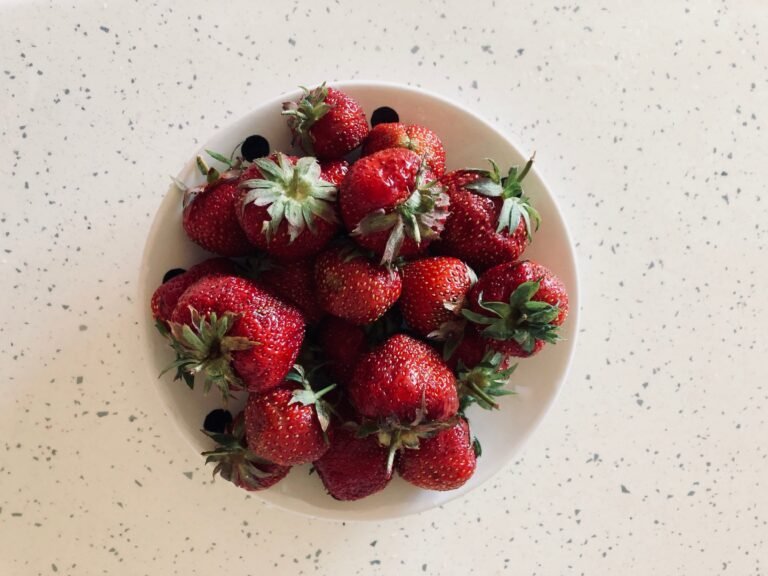
The first step in the actual canning process is to prepare your produce. Whether you’re canning fruits, or making jam, it’s important to start with fresh, high-quality ingredients.

  • Wash Your Produce: Thoroughly wash all produce to remove dirt and bacteria. For some recipes, you may need to peel or chop the produce.
  • Follow a Trusted Recipe: Canning is a science, and it’s crucial to follow a tested recipe from a trusted source. This ensures that your food is safe to eat and will preserve properly.
4. Sterilize Your Jars

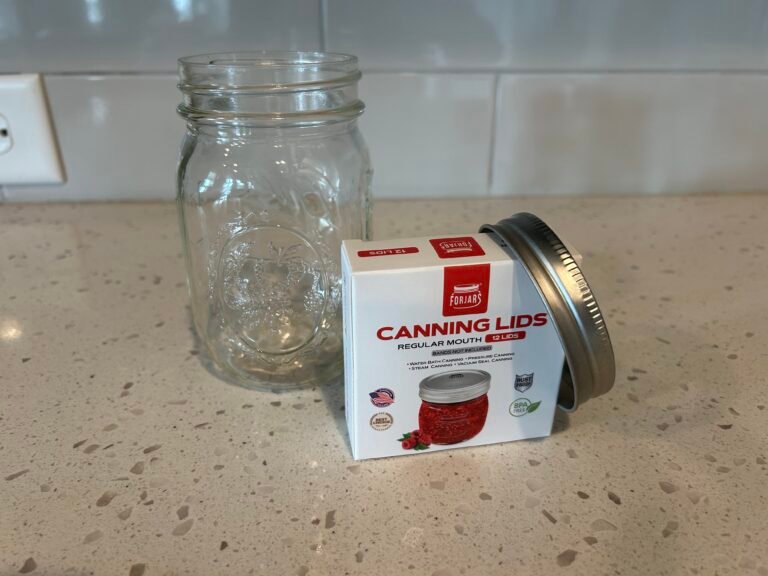
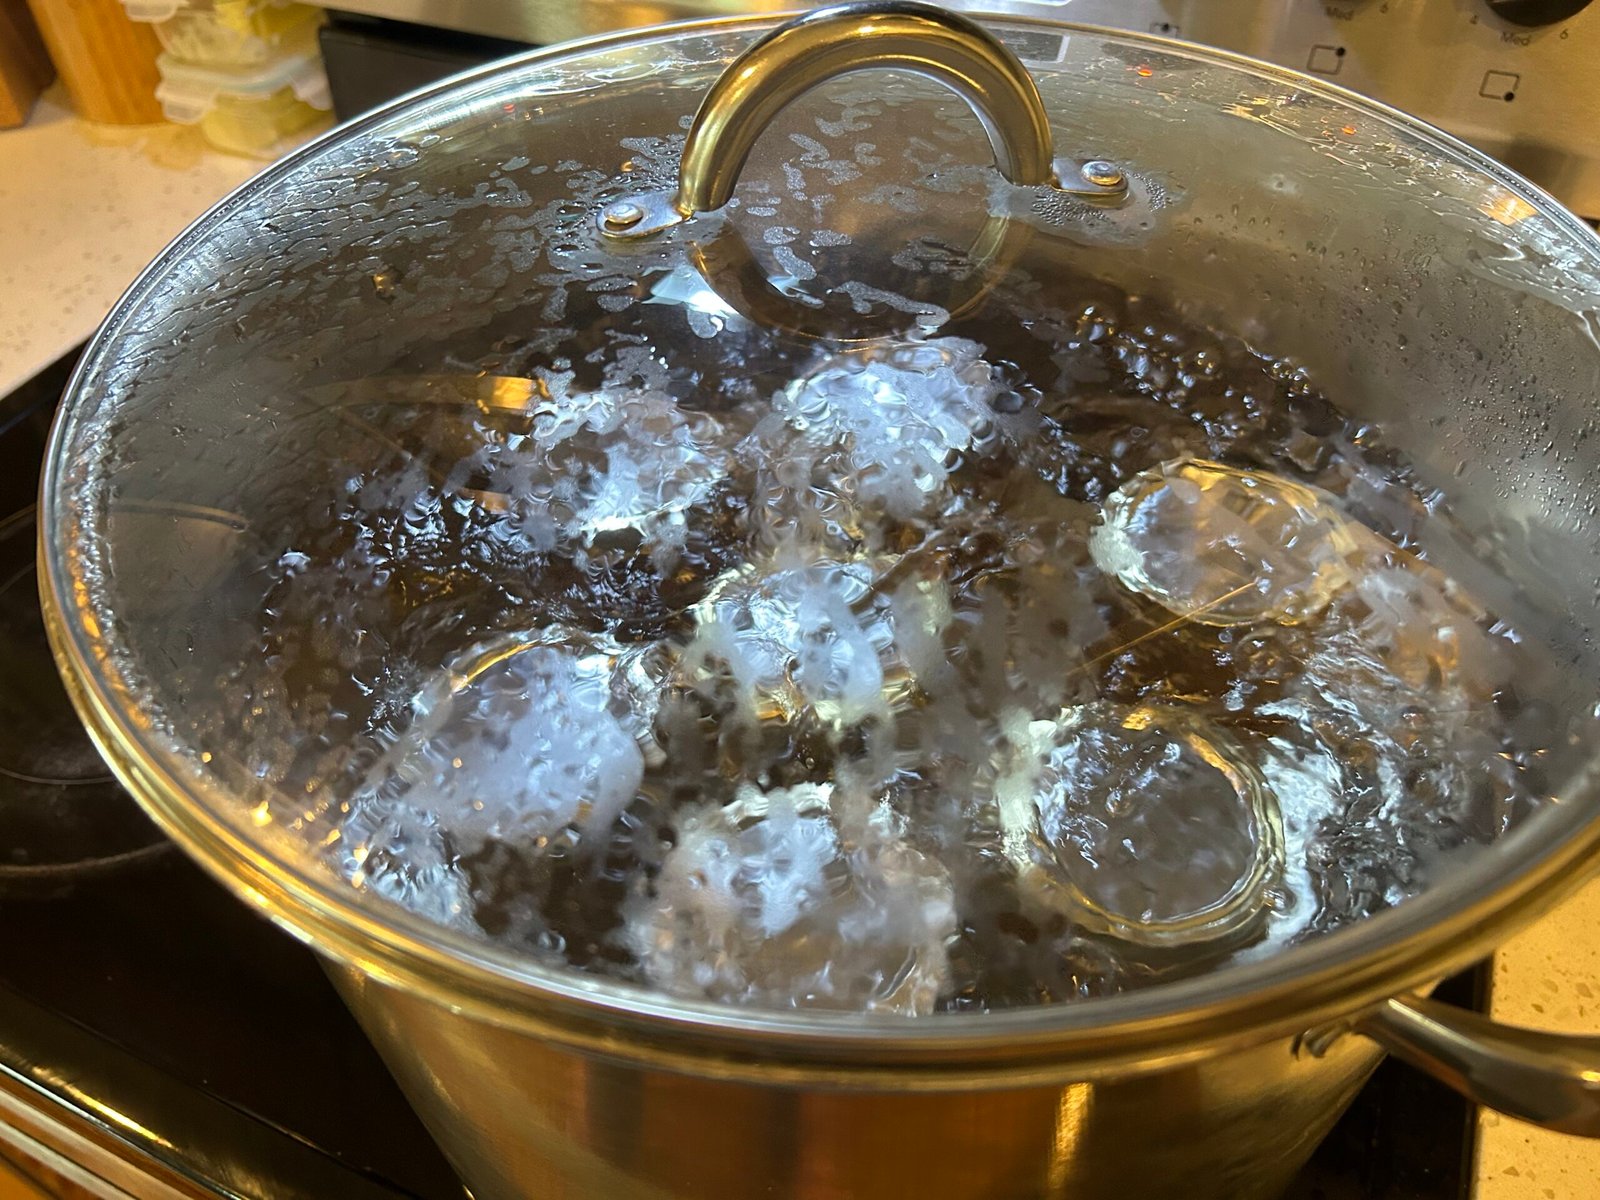
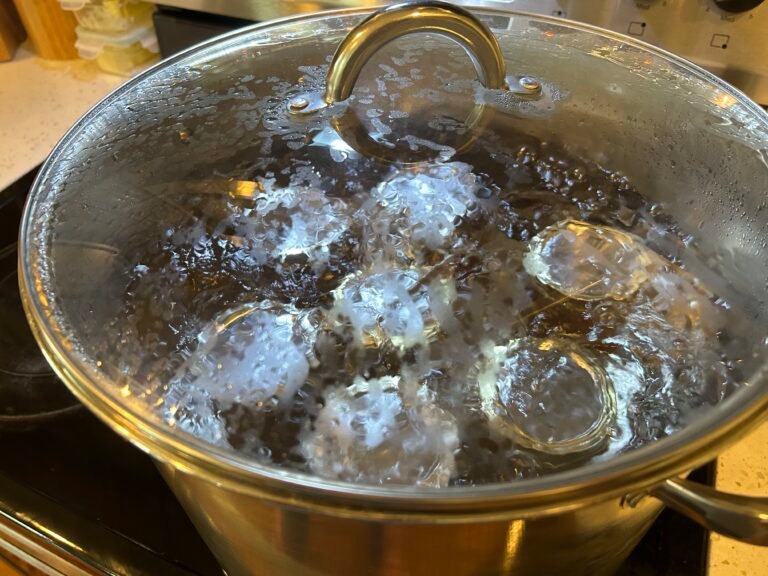
Before filling your jars, you’ll need to sterilize them to prevent bacteria from contaminating your food.

  • Boiling Method: Place your jars in a large pot of water, making sure they’re completely submerged. Bring the water to a boil and let the jars boil for 10 minutes. Keep the jars in the hot water until you’re ready to fill them.
  • Dishwasher Method: If your dishwasher has a sterilize setting, you can use it to sterilize your jars. Run them through the cycle and keep them warm until you’re ready to use them.
5. Fill and Seal the Jars

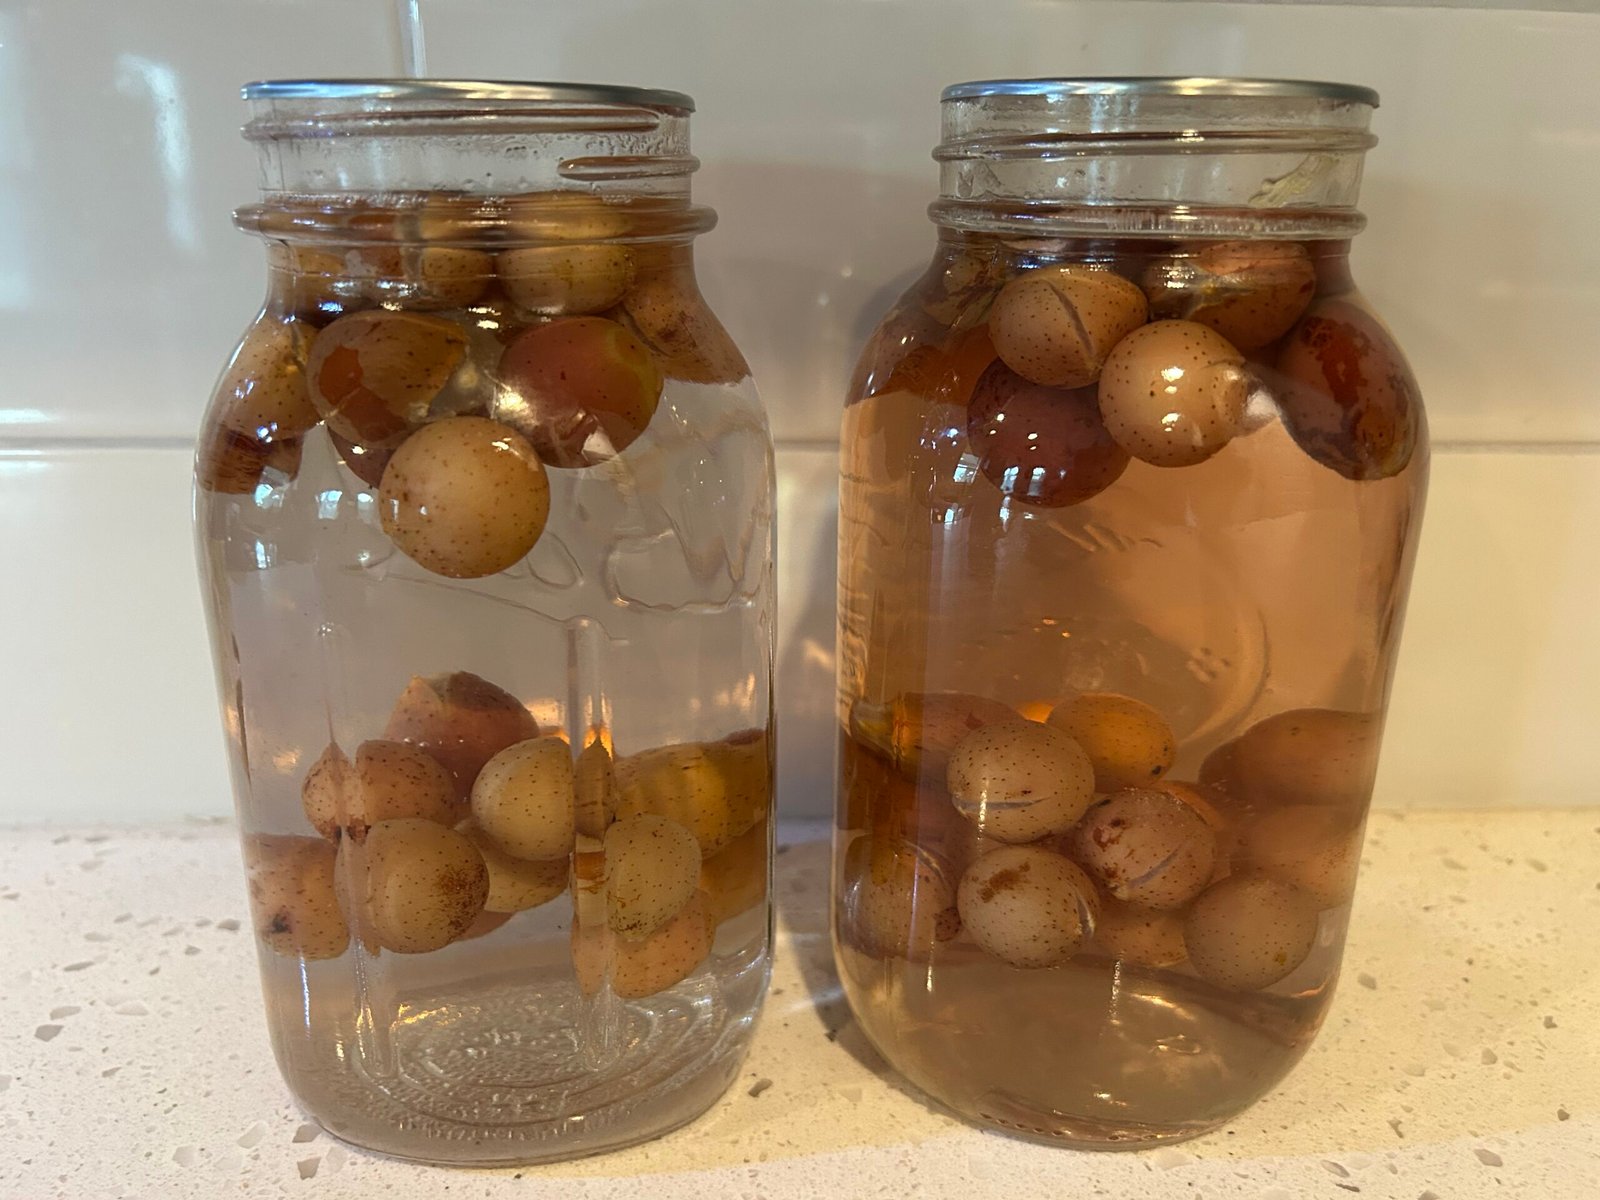
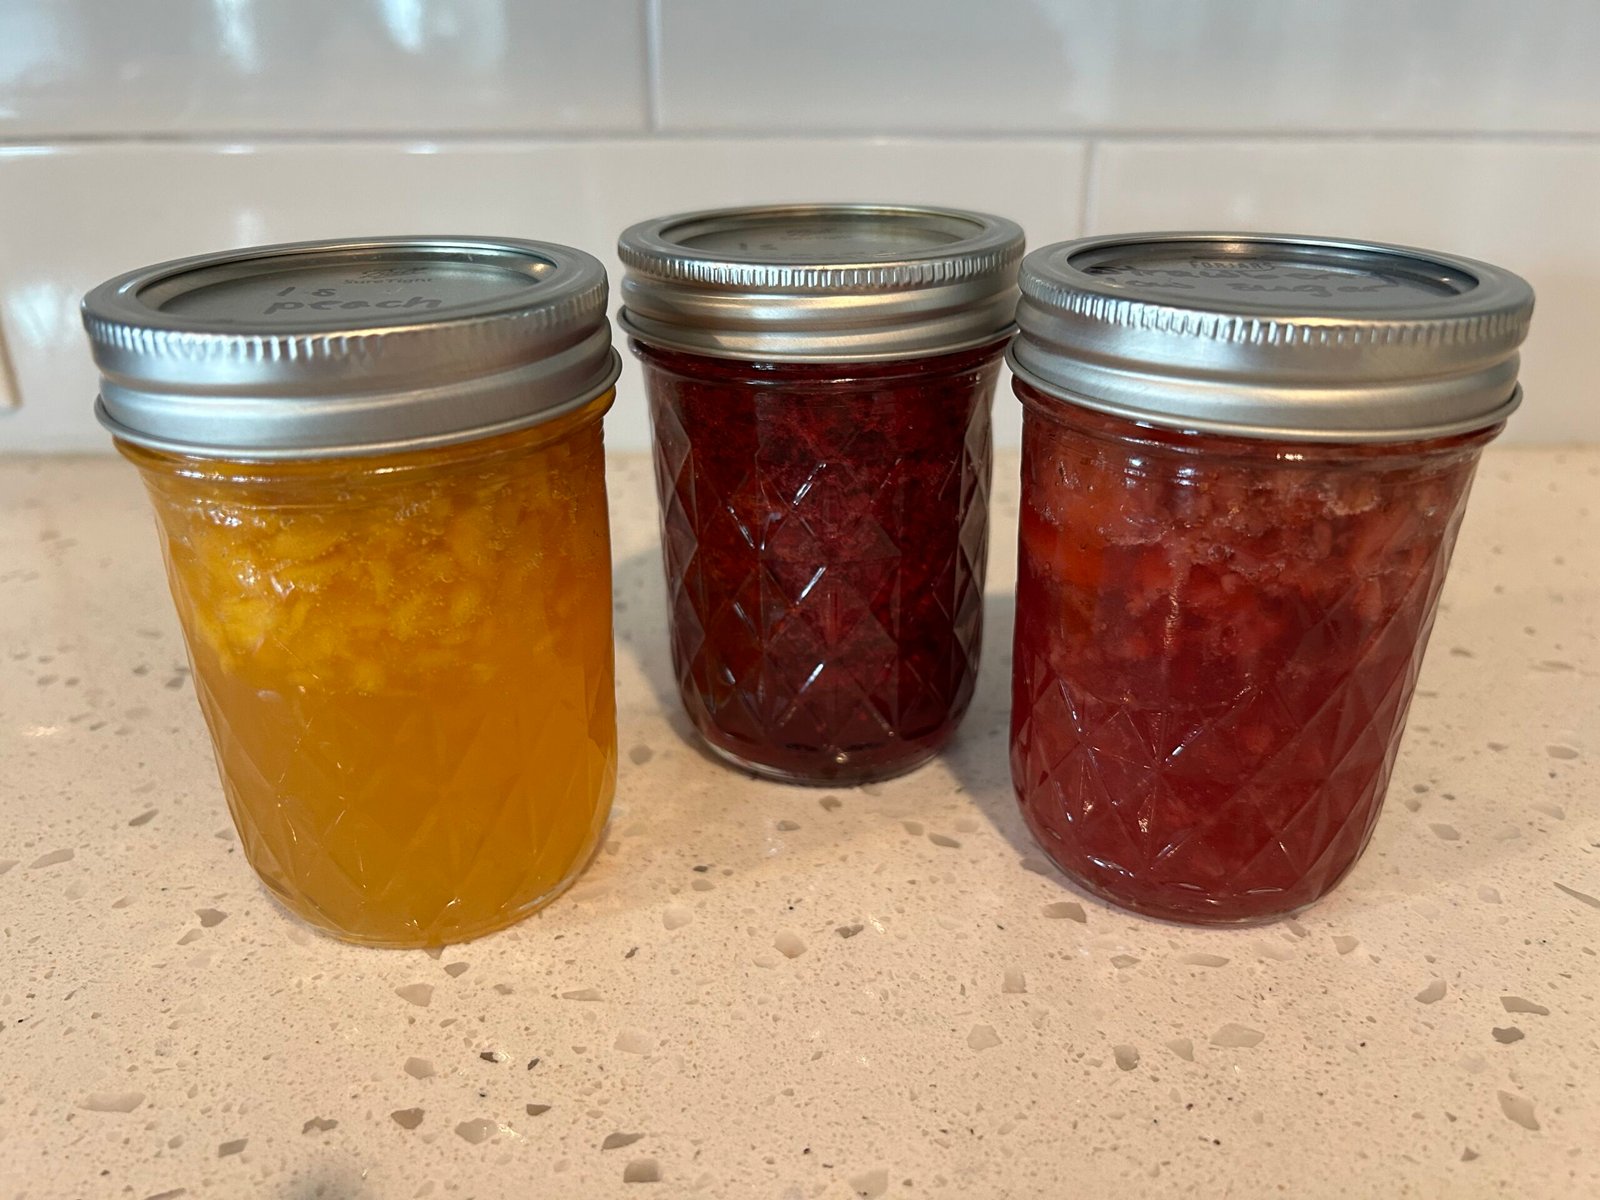
Now comes the fun part—filling your jars with all that delicious produce!

  • Fill the Jars: Using your funnel, carefully ladle your prepared food into the hot jars. Leave the recommended amount of headspace (usually 1/4 to 1/2 inch) as specified in your recipe. This space is important to ensure a proper seal.
  • Remove Air Bubbles: Use your bubble remover tool (or a non-metallic spatula) to gently slide down the sides of the jar to remove any trapped air bubbles. Add more food if needed to maintain the correct headspace.
  • Wipe the Rims: Before placing the lids on, wipe the rims of the jars with a clean, damp cloth to remove any food residue. This helps ensure a good seal.
  • Apply the Lids: Place the lids on the jars, then screw on the bands until they’re fingertip-tight—not too tight, as air needs to escape during the canning process.
  •  
6. Process the Jars

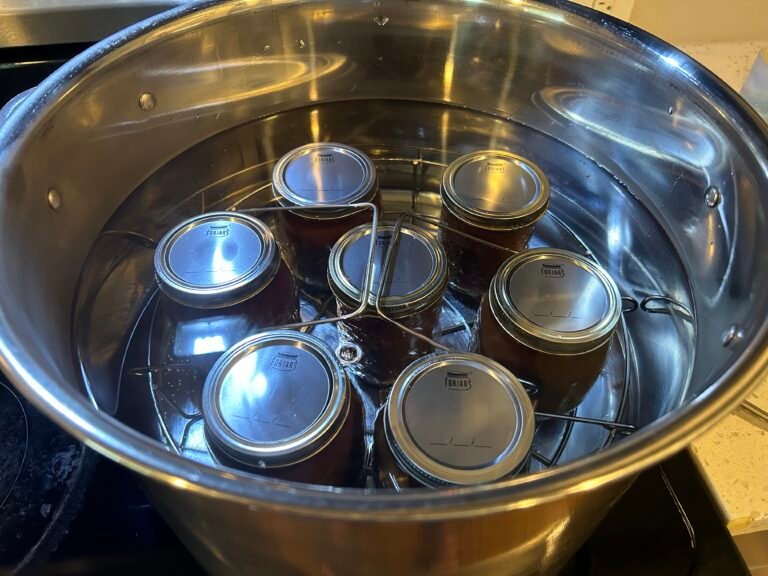
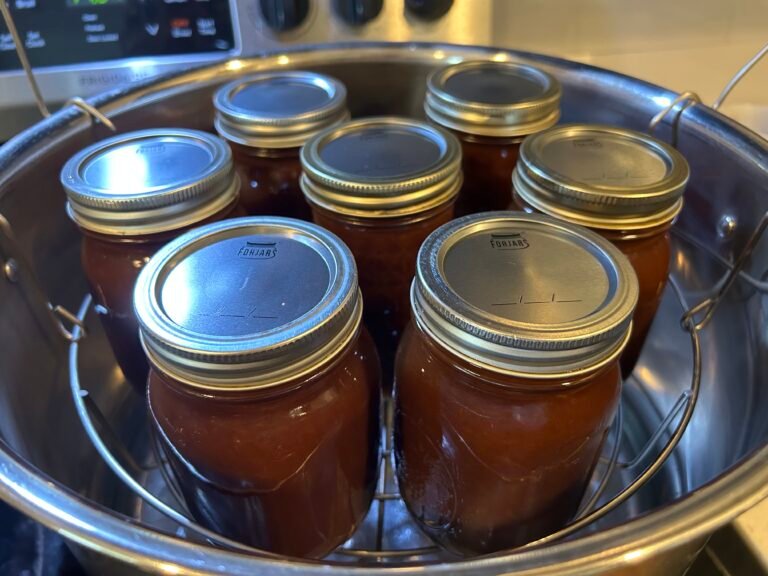
With your jars filled and sealed, it’s time to process them in the water bath.

  • Submerge the Jars: Place the jars in your water bath canner or large pot, making sure they’re covered by at least an inch of water.
  • Boil: Bring the water to a full boil, then start your timer according to the processing time specified in your recipe. The processing time can vary based on the type of food, jar size, and altitude, so be sure to follow the recipe carefully.
  • Cool and Store: Once the processing time is up, turn off the heat and carefully remove the jars using your jar lifter. Place the jars on a towel or cooling rack and let them sit undisturbed for 12-24 hours.
  •  
7. Check the Seals

After your jars have cooled, it’s time to check the seals to make sure your food is safely preserved.

  • Press the Center of the Lid: A properly sealed lid will be concave (curved down) and won’t move when you press it. If the lid pops up and down, the jar didn’t seal properly and should be refrigerated and used within a few days.
  • Label and Store: Once you’ve confirmed that the jars are sealed, remove the bands, label the jars with the contents and date, and store them in a cool, dark place.

Troubleshooting Common Water Bath Canning Issues

Canning is a bit of a science, and sometimes things don’t go exactly as planned. Here are some common issues you might encounter and how to troubleshoot them:

Canning is more than just a way to preserve food—it’s a celebration of the harvest and a connection to traditions passed down through generations. Remember, it’s okay to start small. Even if you only can a few jars of jam this season, you’ll be building skills that will serve you well for years to come.

There’s nothing quite like the feeling of opening a jar of homemade goodness in the middle of winter, knowing that you preserved that yourself.

hello friends! i'm amanda

I’m here to share recipes and ideas to help others make their home a simple homemade homestead.

Share via:

40 Shares
40 Shares 505 views
Share via
Copy link